

Have you ever been faced with the nuisance of a leaky toilet? It’s a frustrating situation that can lead to unnecessary stress and a higher water bill. But don’t fret! This blog post is your handy guide to tackling this common household problem. Let’s dive into a step-by-step guide on how to fix a leaky toilet quickly and efficiently.
Key Takeaways
- Identify the source of a leak by inspecting the tank, bowl and base.
- Common toilet repairs involve replacing flush valve, tightening gasket & bolts or replacing wax ring.
- Prevent future leaks with regular inspections, proper flushing habits & professional help.
Identifying the Source of the Leak
To fix a leaking toilet, first pinpoint the root of the issue. Is your toilet tank acting up, or is the toilet bowl causing the mess? Maybe it’s the toilet base that’s giving you grief. Identifying the exact source of the leak is the first, crucial step in stopping the waterworks.
You may ask, “What’s the best way to locate the leak?” Here, your keen eyesight plays a pivotal role! We will delve into the inspection of various toilet components: the tank, the bowl, and the base.
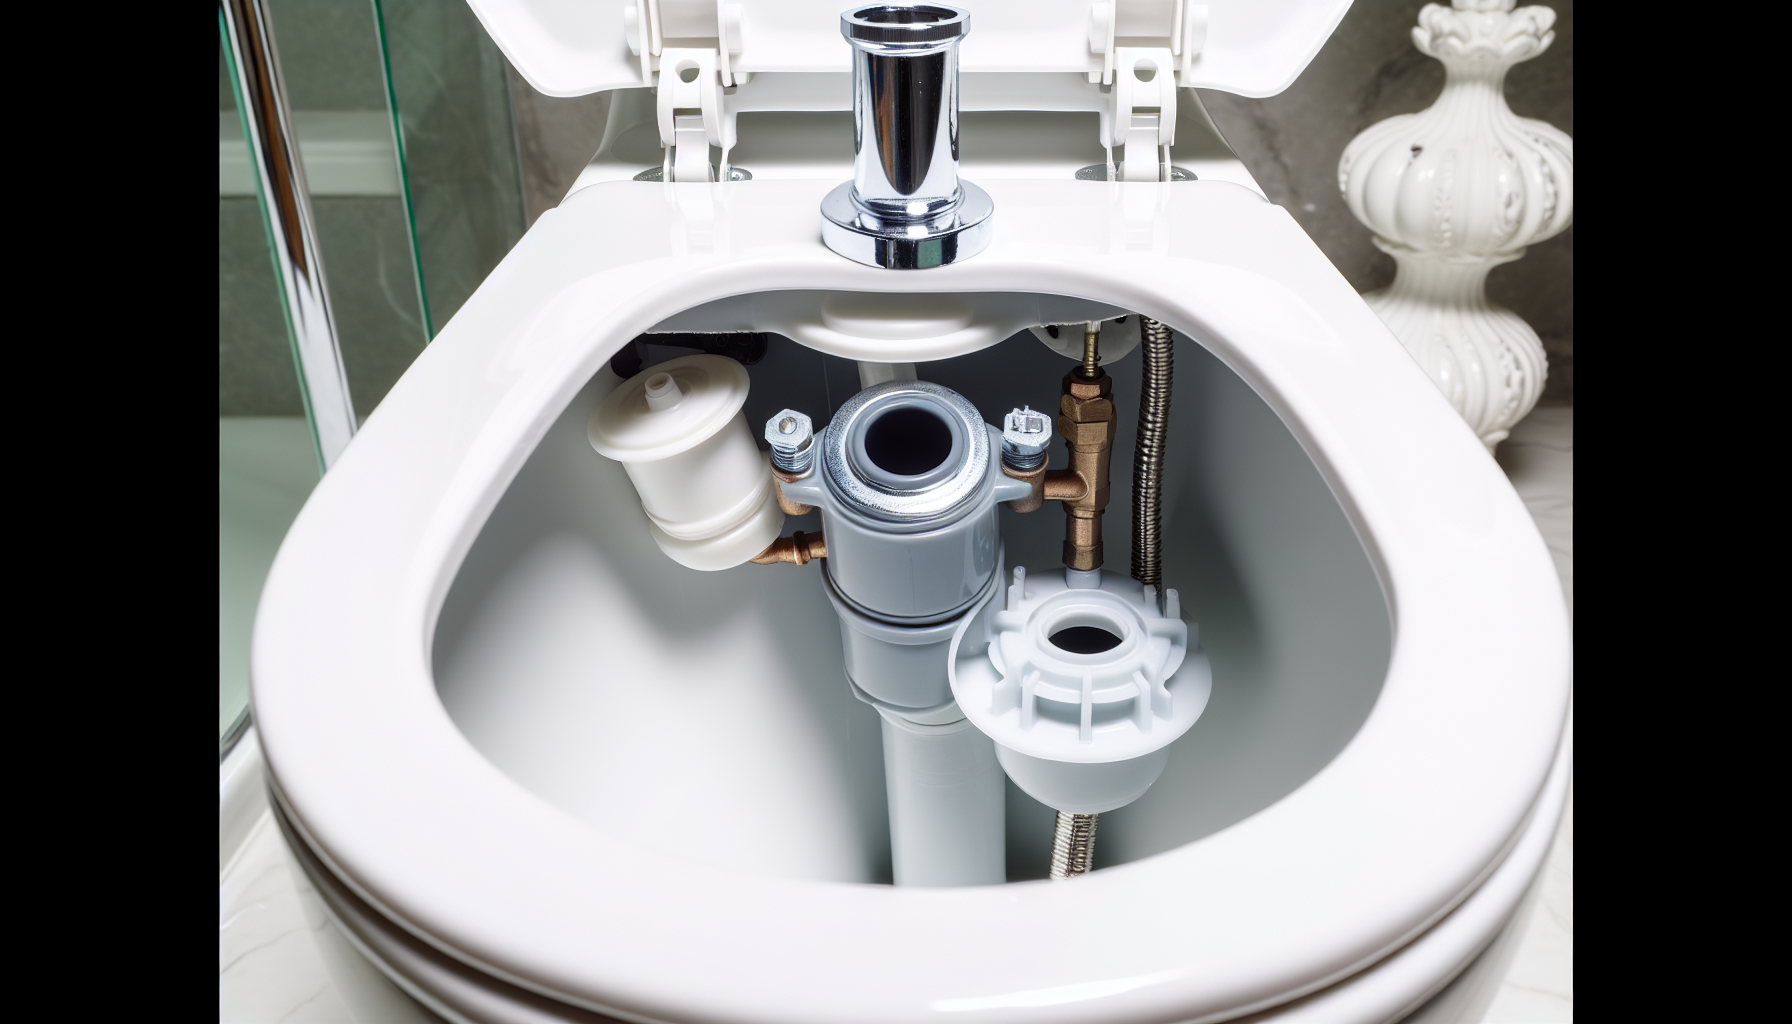
Inspect the Toilet Tank
The toilet tank is akin to the control center of your toilet. It’s where the flushing mechanism lives, and where the magic happens each time you press that flush button. But sometimes, it’s also where your toilet problem starts.
To inspect the tank, you’ll need to:
- Remove the tank lid and take a peek inside.
- Check the water level – it should be about an inch below the overflow tube.
- Listen for any constant running water sounds, a common sign of a leak.
- Look for any obvious leaks or pooled water around the water supply tube.
This will help you identify why toilets leak and fix the issue.
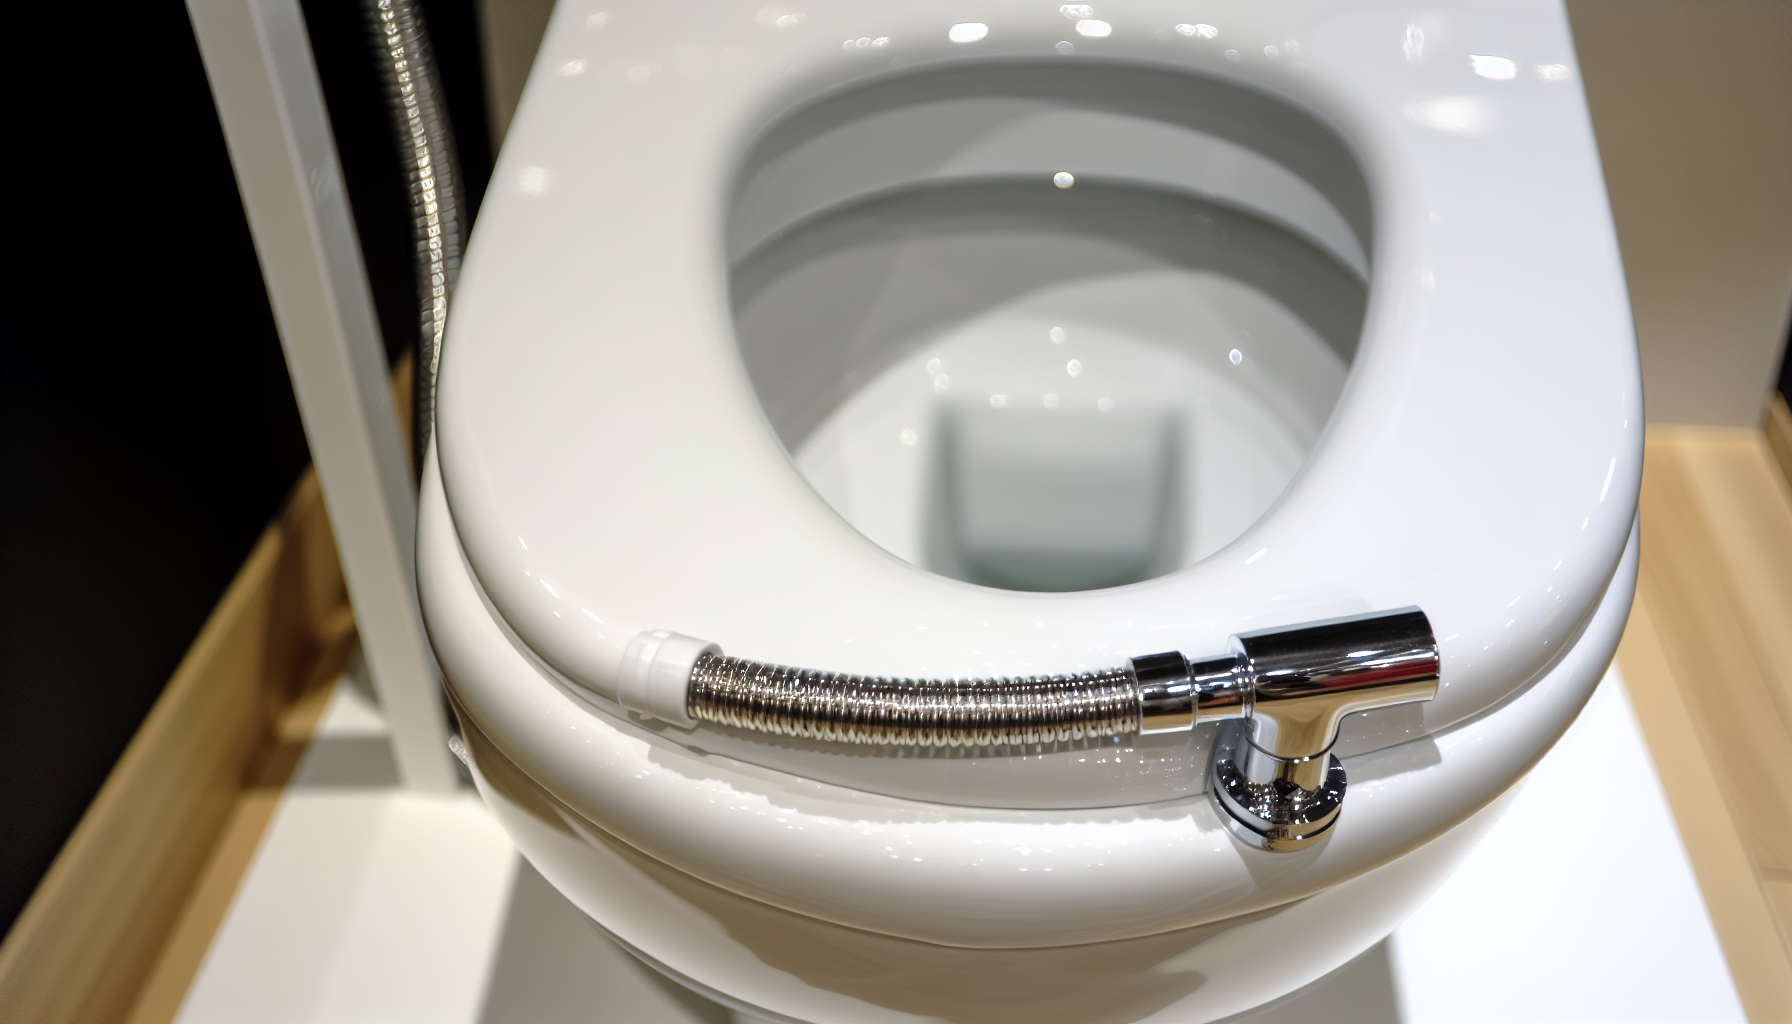
Examine the Toilet Bowl
The toilet bowl, including its toilet bowl rim, is not just the receiving end of your flush; it’s also a potential leak source. A crack or damage in the bowl can lead to water seeping out and pooling on your bathroom floor.
Wondering how to inspect the bowl? Here are some steps to follow:
- Look for any visible cracks or damage.
- Inspect the connection between the tank and the bowl. Are they tightly secured? The gasket between them should be snug and in good condition.
- If necessary, tighten the bolts or replace the gasket.
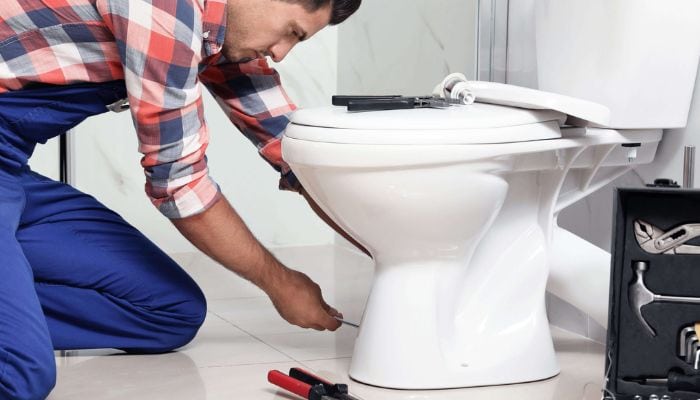
Assess the Toilet Base
The base of the toilet – it’s where your toilet meets the floor. It’s also where water might accumulate if you have a leaky toilet. Loose bolts or a faulty wax ring can cause the water to pool around the base.
Inspect the base by following these steps:
- Clean up any water on the floor.
- Check if more water pools around the base. If it does, it’s a pretty clear sign that the wax ring might be faulty and needs replacing.
- Also, check the tightness of the closet bolts that hold the toilet to the floor. Over time, these bolts can loosen and lead to leaks.
Common Toilet Leak Repair Methods
Having pinpointed the leak’s origin, we can now explore standard repair techniques for a leaking toilet. Depending on where your leak is coming from, you might need to replace the flush valve, tighten the gasket and bolts, or replace the wax ring.
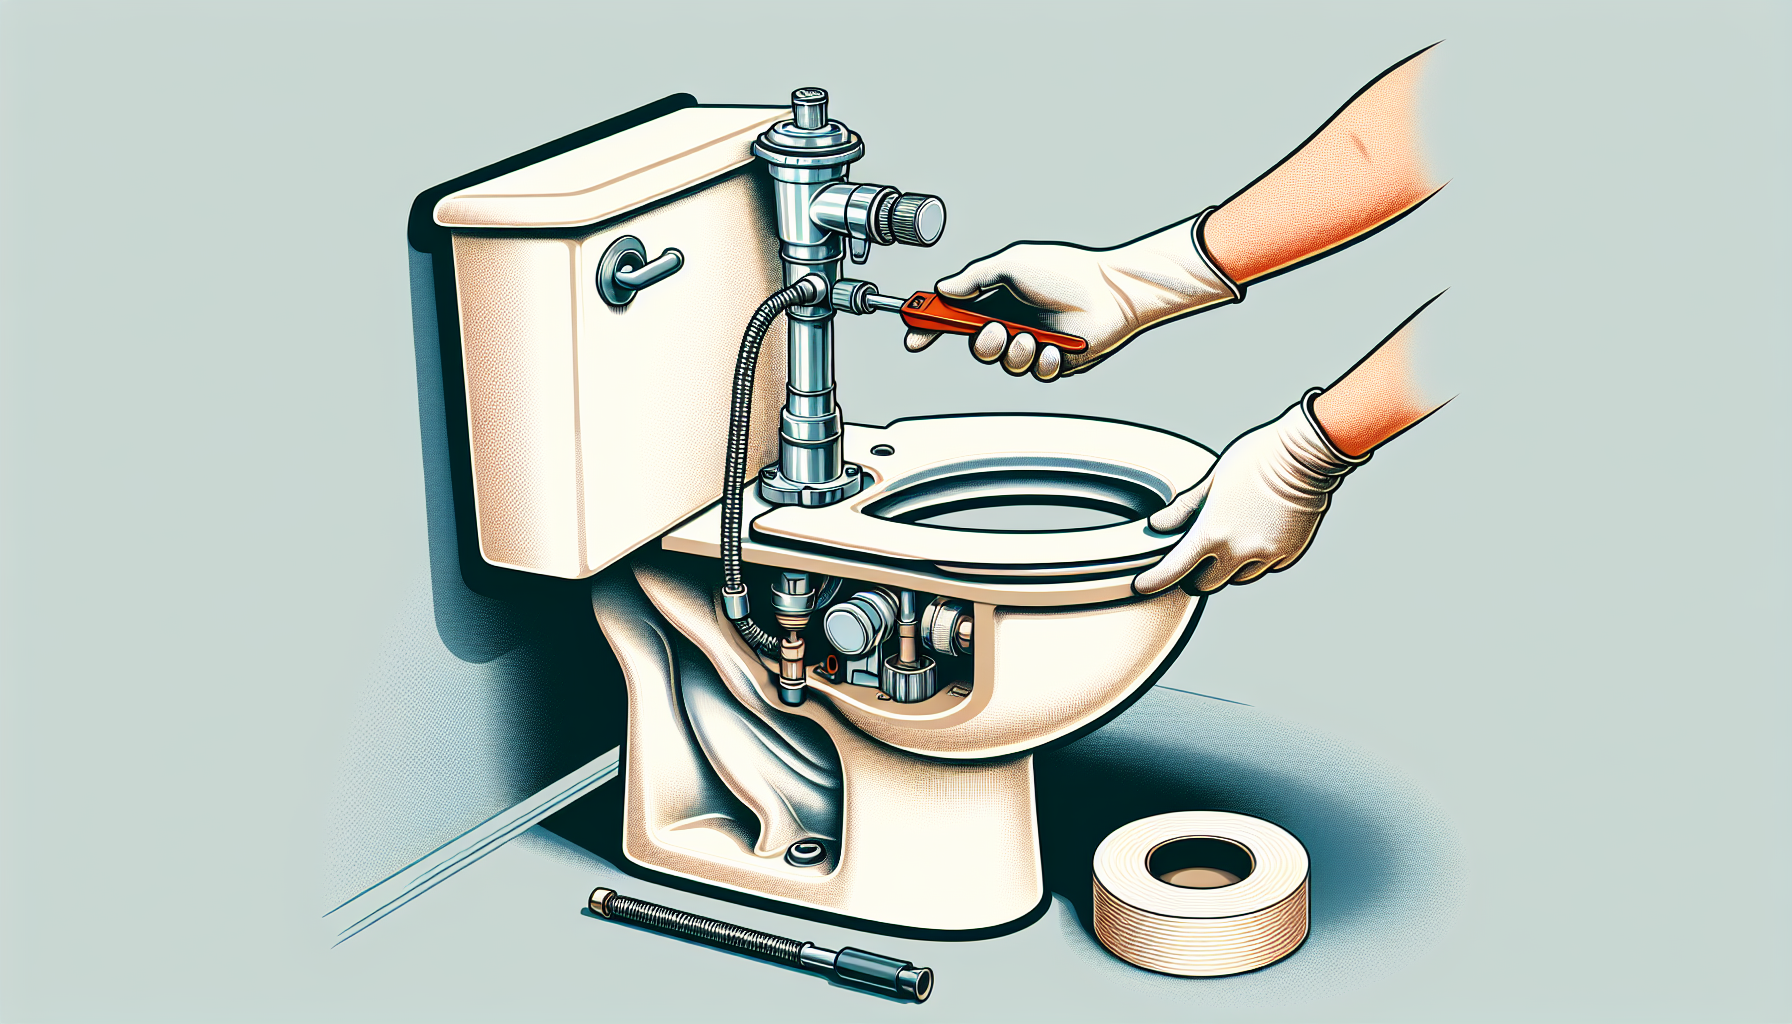
Replacing the Flush Valve
The flush valve is a critical component of your toilet, as is the inlet valve. It’s responsible for releasing a gush of water when you flush, effectively getting rid of waste in the bowl. However, when damaged, the flush valve can cause leaks in the tank, making it essential to check the water valve as well.
Replacing the flush valve might seem daunting, but it’s not as complicated as it sounds. First, shut off the water supply using the shutoff valve. Then, remove the toilet tank by disconnecting the water line and unscrewing the tank bolts.
Next, unscrew the old flush valve from the tank’s bottom, install a new one, and reassemble the tank. Lastly, reconnect the water supply line, turn on the water supply, and check for leaks.

Tightening the Gasket and Bolts
Sometimes, fixing a leaky toilet is as simple as tightening the gasket and bolts. These parts secure the connection between the tank and the bowl, preventing water from leaking out.
Be sure to approach this task with care. Over-tightening can damage the toilet or create new leaks. Use a small wrench to gently tighten the toilet bolts that hold the toilet to the floor. Remember, the goal is to create an even seal without going too tight.
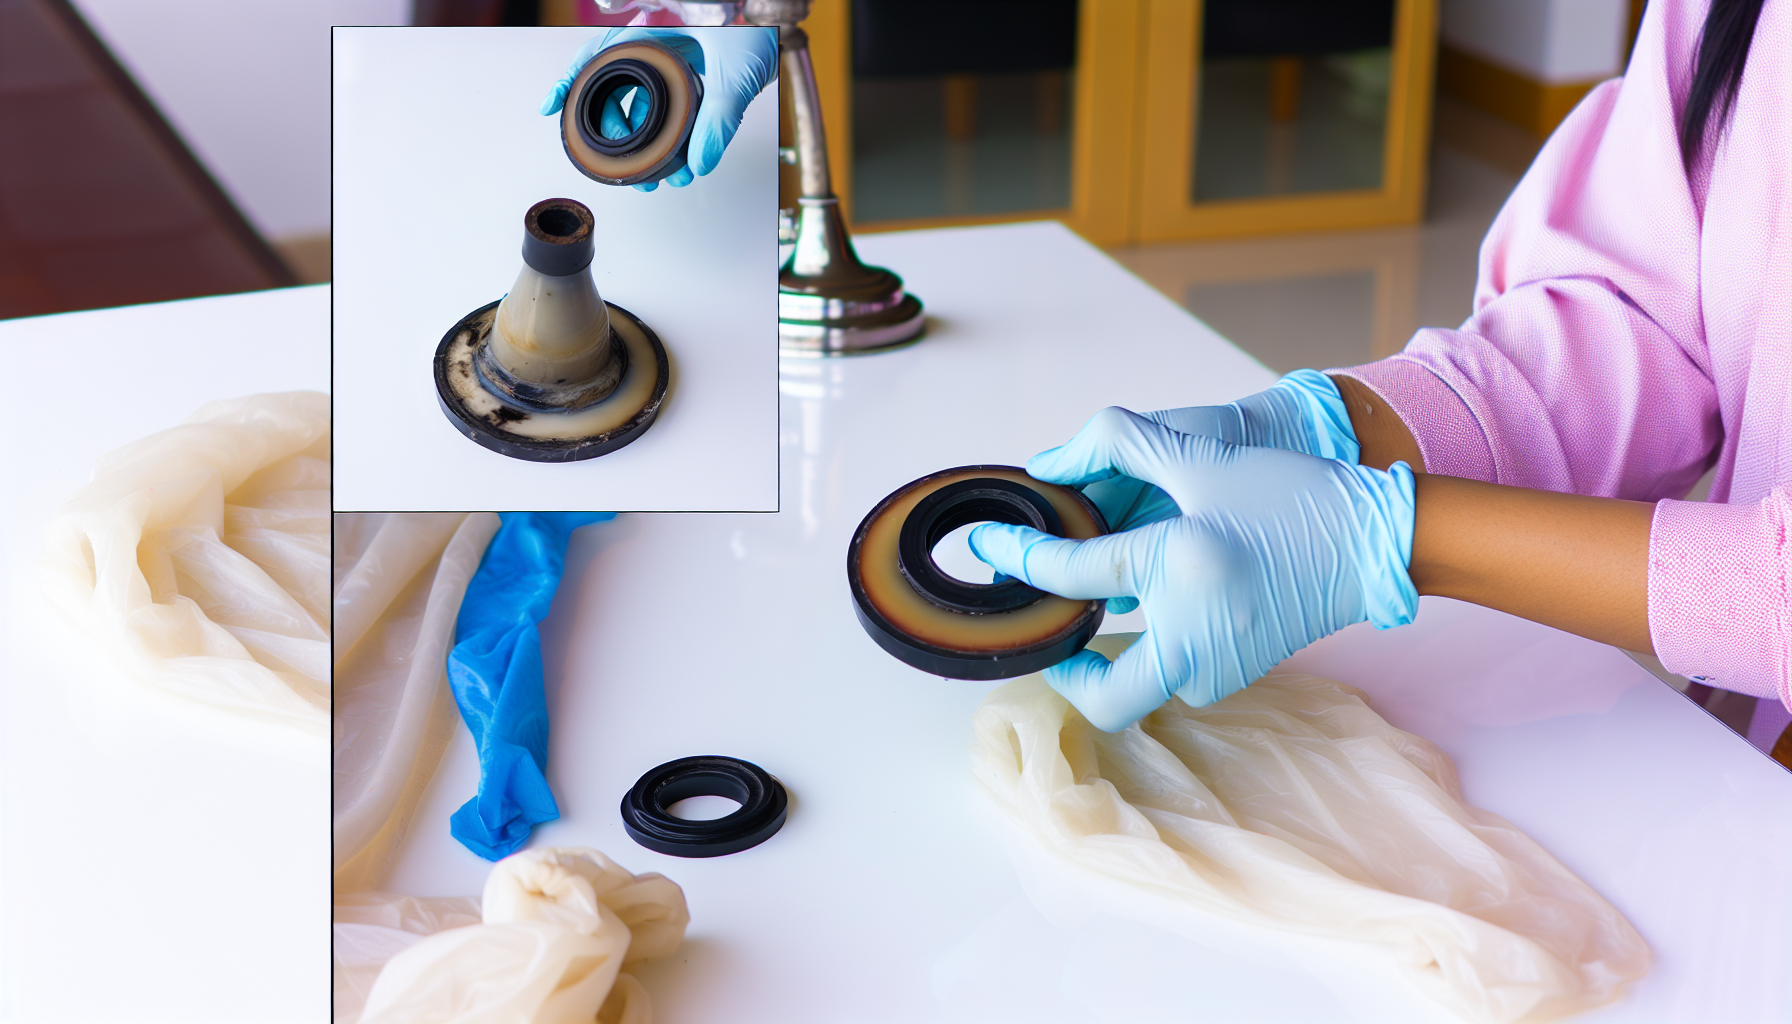
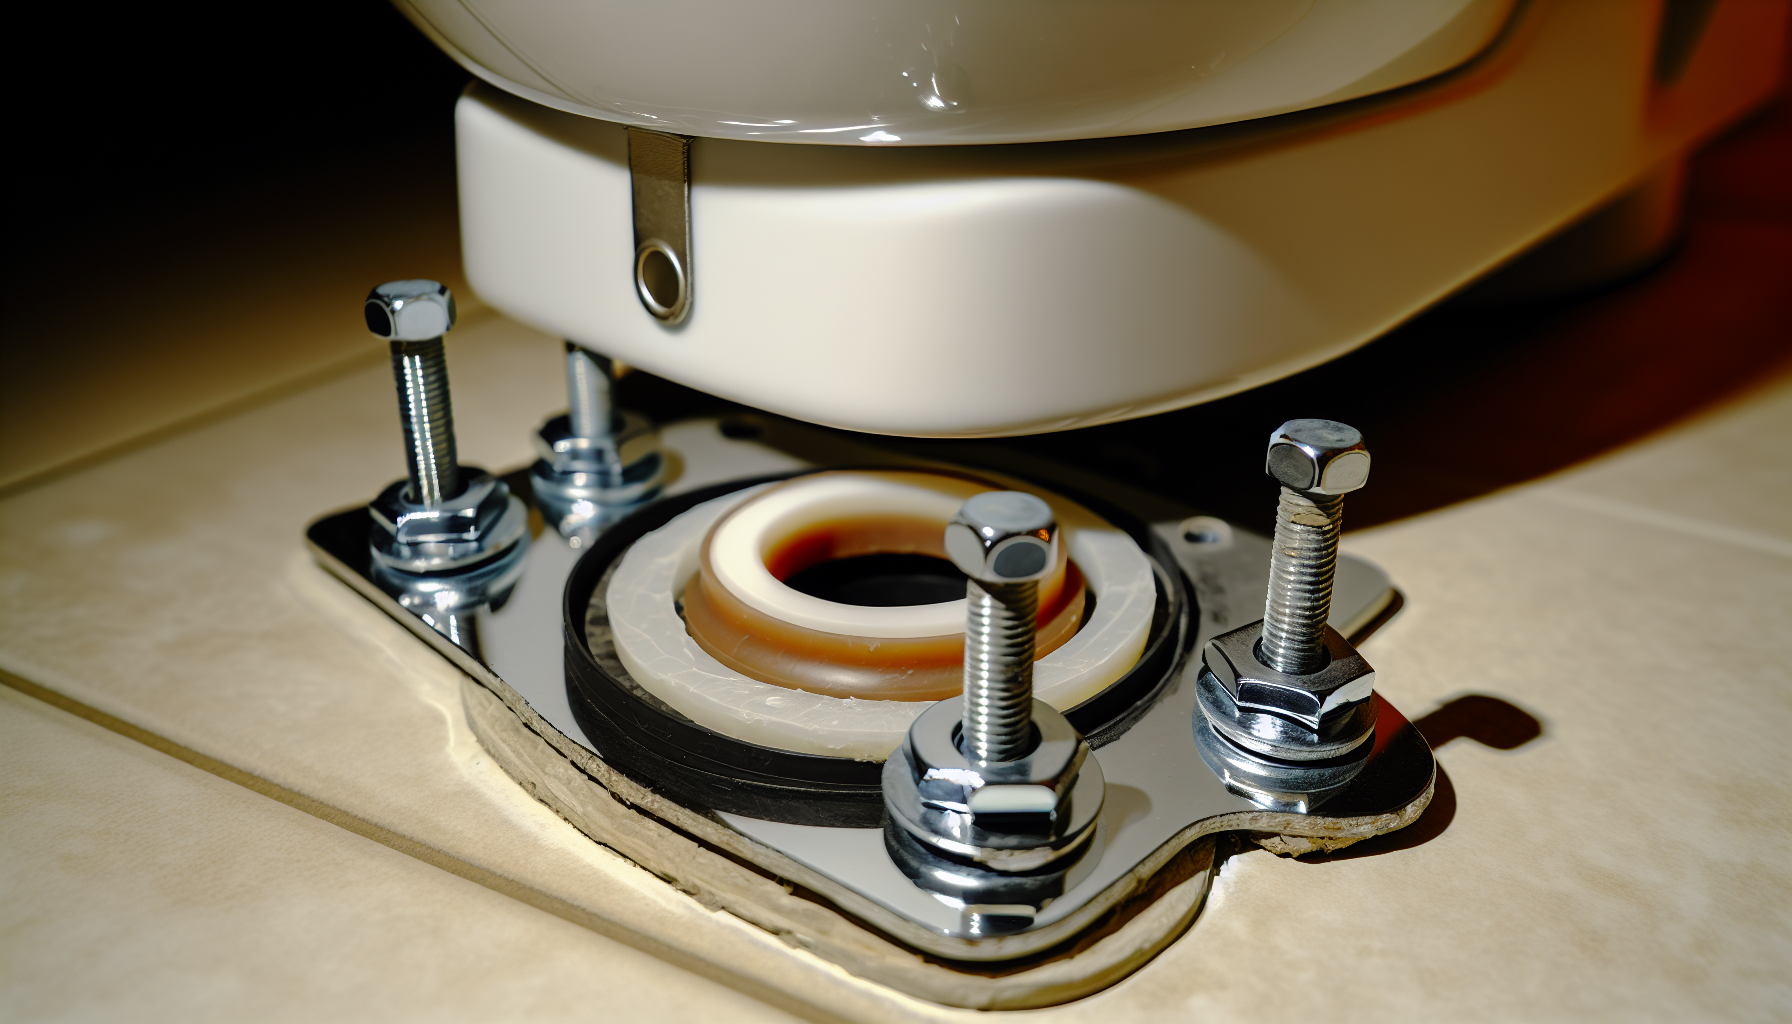
Replacing the Wax Ring
The wax ring, sometimes referred to as a rubber seal, is a little component with a significant role. It creates a watertight seal between the floor and the toilet base, similar to how a wax seal functions in other applications. If it’s worn down or the toilet is loose, replacing the wax ring might be necessary.
To replace the wax ring, follow these steps:
- Remove the toilet.
- Clean the flange.
- Install a new wax ring.
- Reposition the toilet.
- Press down evenly on the toilet base to secure the wax ring and create a tight seal.
Tools and Materials You’ll Need
Having familiarized yourself with standard toilet repair techniques, the next step is understanding the necessary tools and materials. Having the right tools at hand can make the repair process smoother and more efficient. You’ll need a wrench, a screwdriver, and a cordless drill as your essential tools.
Additionally, a toilet repair kit with replacement parts like flappers, fill valves, flush valves, and handles can be handy, including a plastic closet flange for secure installation.

Preventing Future Toilet Leaks
In line with the adage, “Prevention is better than cure.” This philosophy holds true for toilet leaks as well! A combination of regular inspections, correct flushing habits, and timely professional assistance can protect you from subsequent toilet leak issues.
Regular Inspections and Maintenance
Regular inspections and maintenance can help you catch potential problems early. Giving your toilet a once-over every few months can prevent small issues from becoming major leaks.
During these checks, make sure the toilet is functioning properly. Look for any cracks, leaks, or signs of wear and tear on the toilet parts. Also, check the bathroom floors, walls, and other fixtures for any signs of damage or moisture. Don’t forget to inspect the bathroom exhaust fan for proper ventilation.
Proper Flushing Habits
Good flushing habits can go a long way in preventing toilet leaks. You’d be surprised how many leaks (and clogs) are caused by flushing the wrong things down the toilet.
So, what’s the correct way to flush? Here are some guidelines to follow:
- Only flush human waste and toilet paper.
- Avoid flushing other items like wipes, cotton balls, or tissues, which could clog the pipes and cause leaks.
- Also, avoid over-flushing, as it can mess with the valves and put pressure on the wax ring, leading to leaks.

Seeking Professional Help
While many toilet leaks can be fixed with a little DIY effort, some situations call for professional help. Complex plumbing issues are best left to the experts to prevent further damage and cost.
If you’re facing a significant problem like a leaking base or clogged drains, it’s wise to call in a professional plumber. They have the right tools and expertise to fix the issue correctly, saving you from potential future problems.
Summary
To sum up, dealing with a leaky toilet doesn’t have to be a daunting task. By correctly identifying the source of the leak and employing the appropriate repair method, you can quickly and efficiently fix your leaking toilet. Remember, regular inspections and proper flushing habits can help prevent future leaks, and don’t hesitate to seek professional help for complex issues. So, don’t let a leaky toilet dampen your day – you’ve got this!
Frequently Asked Questions
What causes toilet to leak from bottom?
Toilet leaking from bottom is usually caused by a failed wax gasket that should make a watertight connection between the toilet and the floor. This means that the wax seal needs to be replaced.
How do I stop my toilet from trickling water?
Check the flapper – the rubber stopper at the bottom of your toilet tank – as this is likely the cause of water trickling into the bowl. To test, press down on it with a stick when you hear running water and listen out for it to stop. If it’s worn or damaged, drain the tank and bowl, check and clean the flapper seat and then replace the flapper.
How often should you check toilets for leaks?
Check your toilets at least once or twice a year to stay on top of any leaks. That way, you can catch them before they become a big problem.
What stuff shouldn’t you flush down the toilet to avoid clogs and leaks?
To avoid clogs and leaks, don’t flush flushable wipes, paper towels, tissues, cotton balls, cotton swabs, or makeup remover wipes.
What tools do I need to fix a leaky toilet?
You’ll need a wrench, screwdriver and cordless drill to fix your leaky toilet.